Categories Recipes

GREEK SALAD

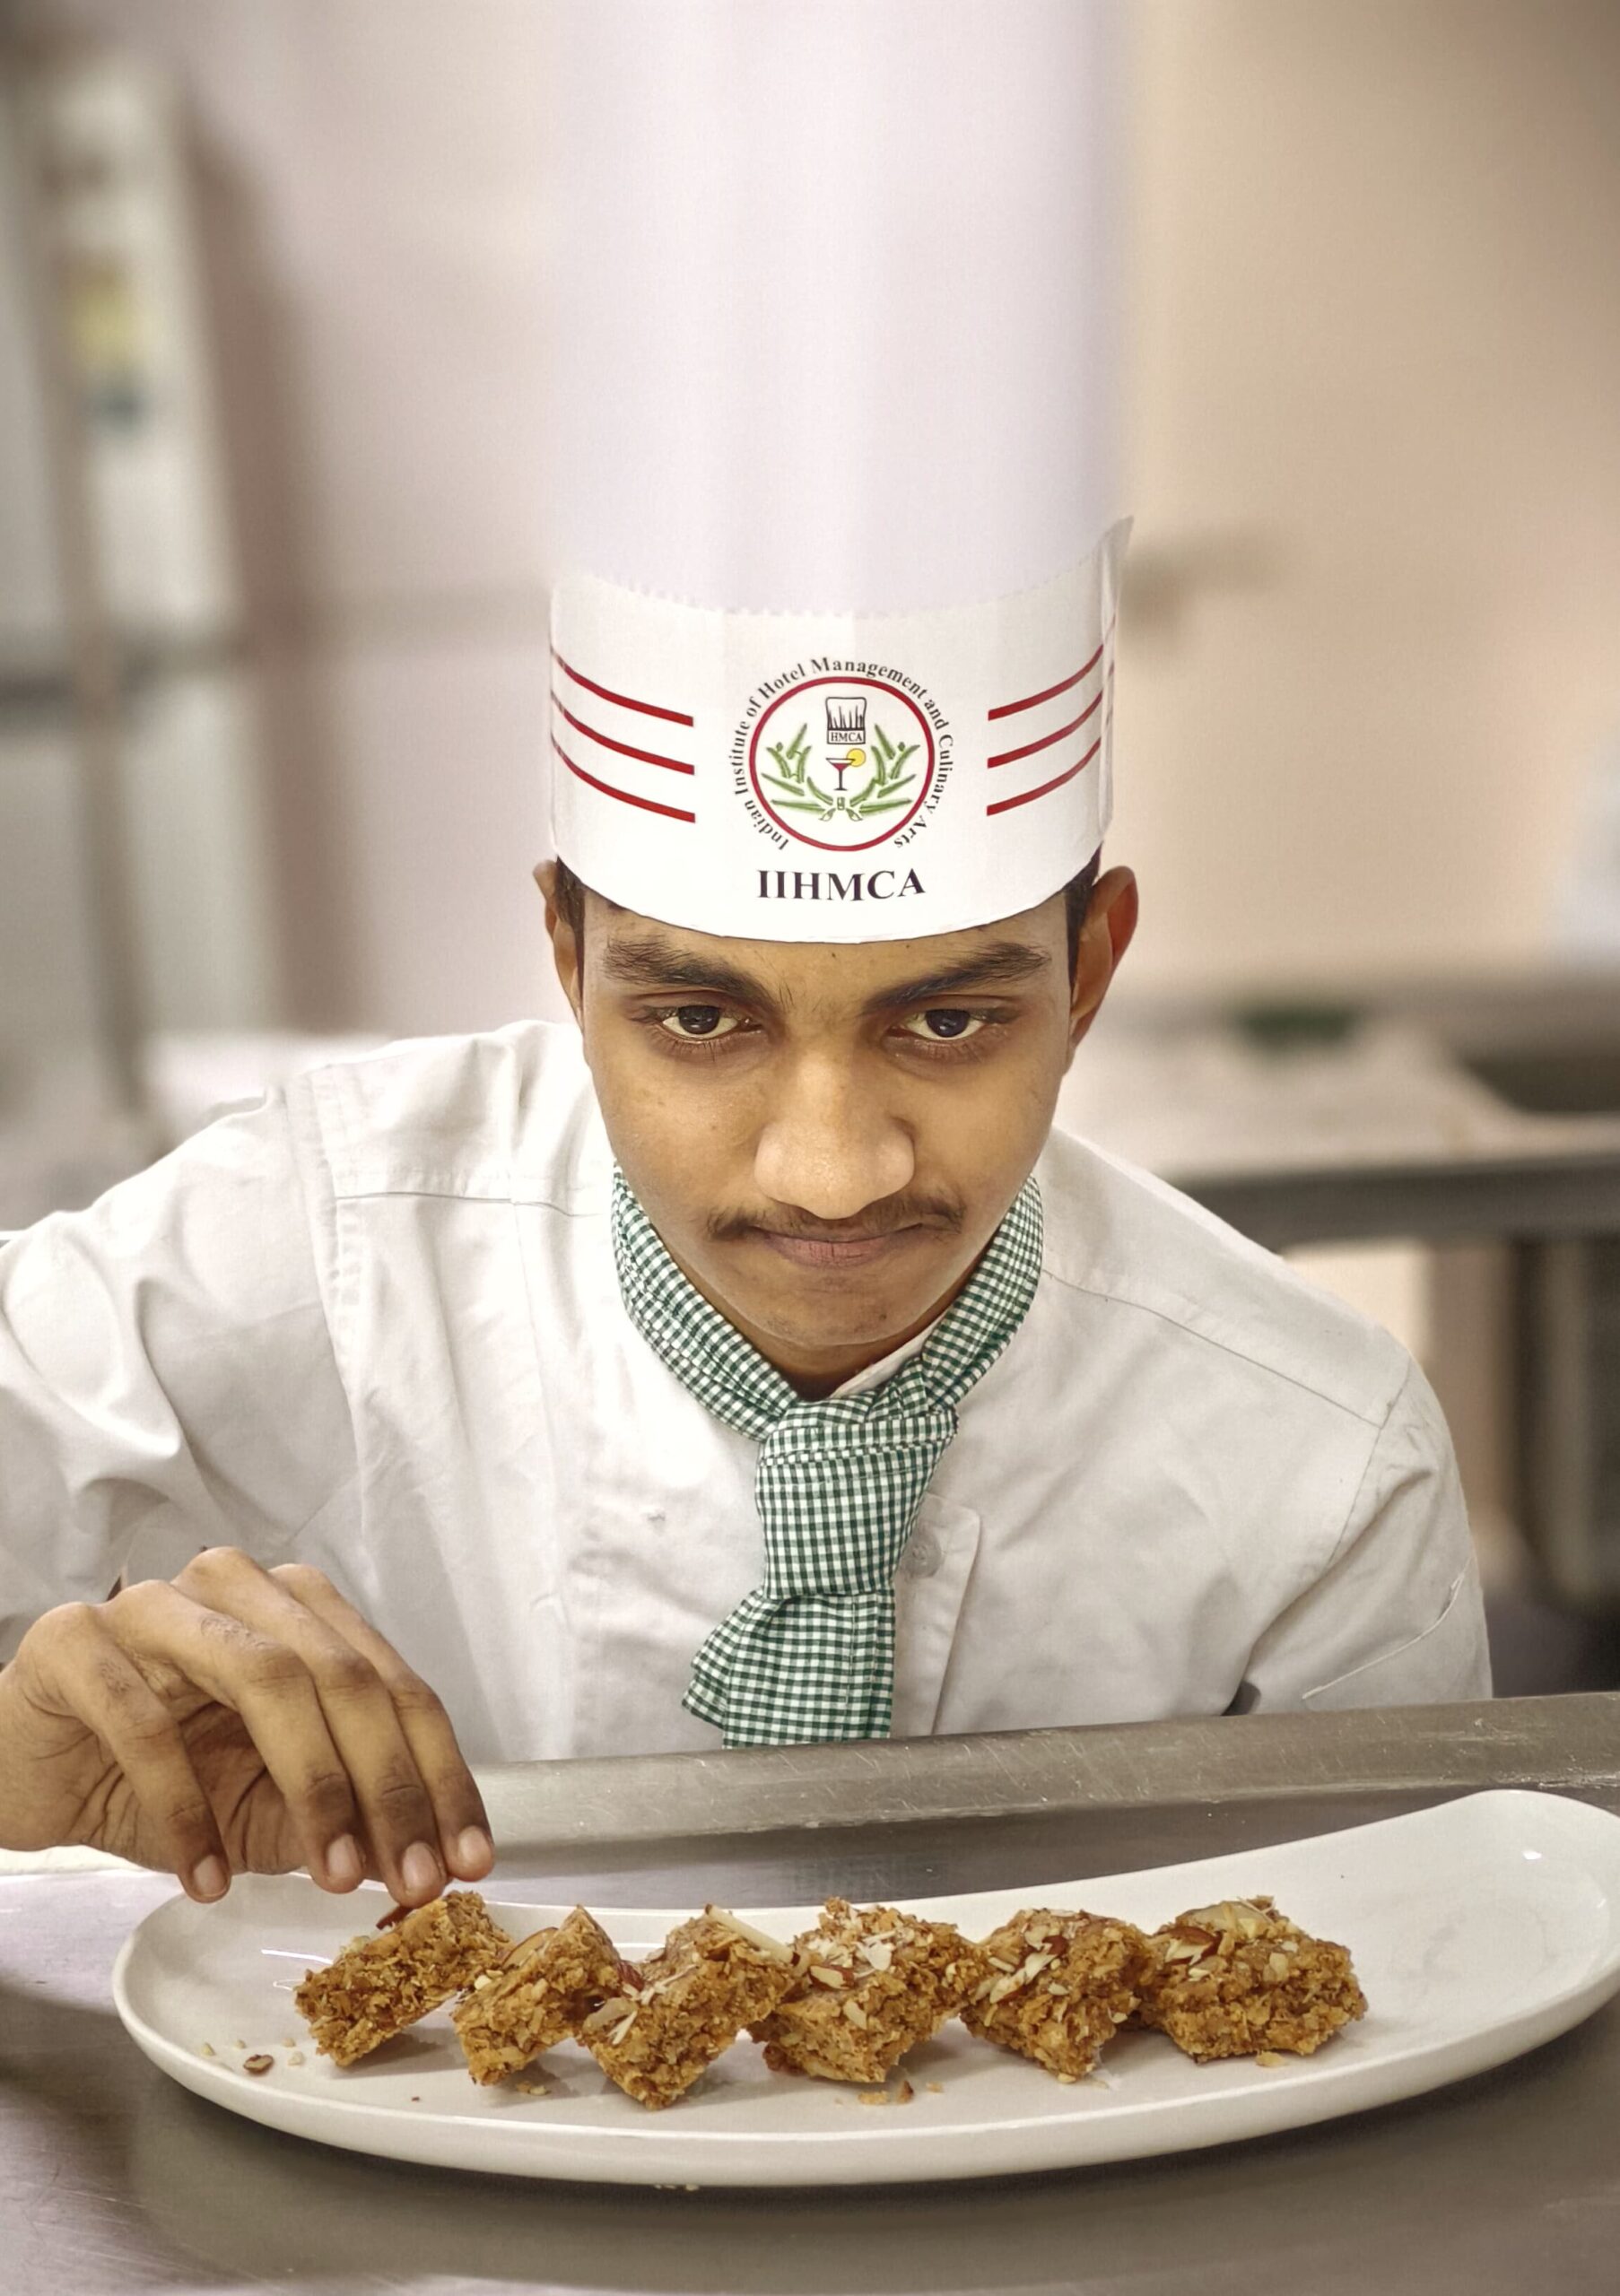
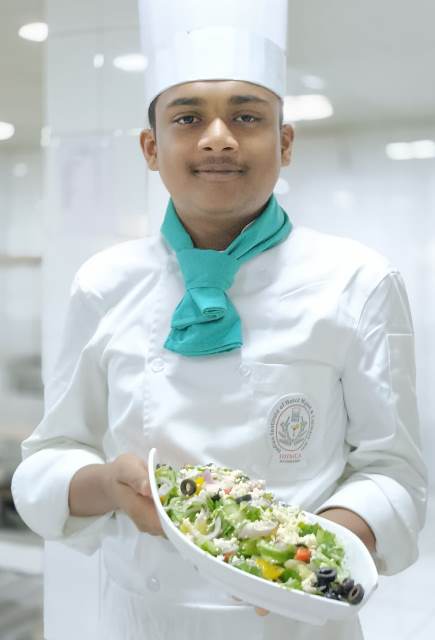
Mr.G.SAI CHARAN (BHMCT 2ND SEM) is a dedicated and diligent, young aspirant who is exceptionally good at culinary arts. IIHMCA has selected him as the Chef of the Day.

Ingredients
Dressing

  •  75 ml Extra-virgin olive oil
  •  30 ml Red wine vinegar
  •  3 nos Garlic clove, minced
  •  3 gms Dried oregano, more for sprinkling
  •  4 gms Dijon mustard
  •  3 gms Sea salt
  •  5 gms Freshly ground black pepper
    For the salad
  •  1no  English cucumber, cut lengthwise, seeded, and sliced ¼-inch thick
  •  1 no Green bell pepper, chopped into 1-inch pieces
  •  150 gms Cherry Tomatoes , halved
  •  125 gms Feta cheese, cut into ½ inch cubes*
  •  125 gms Red onion, thinly sliced
  • 50 gms Green capsicum
  •  75 gms Pitted Kalamata olives
  •  50 gms Fresh mint leaves

Method
1. Place Greek Salad Dressing ingredients in a jar and shake until well combined. Set
aside for 20 minutes to let the flavours infuse.
2. Tomatoes: Cut each tomato into half. If the tomato is watery, scoop out the watery
seeds inside with a teaspoon.
3. Cucumbers: Slice the cucumber into 1/2cm / 1/5" thick slices. Or if they are thick
cucumbers, slice the cucumber in half vertically, then slice.
4. Onion: Peel and finely slice the red onion. I keep it in rings – you could cut it in half then
slice.
5. Capsicum: Cut into short strips.
6. Feta: Cut into 1cm / 2/5" cubes.
7. Olives: Slice the olives into round slices. Make sure they are evenly cut.
8. Place the tomato, cucumber, onion, feta and olives in a bowl, sprinkle with oregano
then pour over dressing. Toss to combine. Serve immediately.

Categories Recipes

GRILL CHICKEN WITH MASHED POTATO AND BUTTERED VEGETABLES

Ms. D Harika  (BHMCT 2ND SEM) is a dedicated and diligent, young aspirant who is exceptionally good at culinary arts. IIHMCA has selected her as the Chef of the Day.

Ingredients:
For the Grilled Chicken:
4 nos Boneless, skinless chicken breasts
40 ml Olive oil
5 ml Lemon juice
5 gms Garlic powder
5 gms Paprika
5 gms Dried oregano
5 gms Salt and pepper
For the Mashed Potatoes:
500 gms Potatoes (Yukon Gold or Russet)
30 gms Unsalted butter
75 ml Full fat Milk
6 gms Salt and pepper
50 ml Sour cream or cream cheese for extra creaminess
For the Buttered Vegetables:
150 gms Broccoli
100 gms Carrots
50 gms Green beans
50 gms Green peas
70 gms Unsalted butter
5 gms Salt and pepper to taste
Method :
For the Grill Chicken:
1. In a small bowl, mix olive oil, lemon juice, garlic powder, paprika, oregano, salt, and pepper to
create the marinade.
2. Coat the chicken breasts with the marinade and let them sit for at least 15-20 minutes (or
refrigerate for up to 2 hours for more flavour).
3. Preheat your grill or grill pan over medium-high heat.
4. Grill the chicken for about 6-7 minutes per side, or until it reaches an internal temperature of
165°F (75°C).
5. Remove from the grill and let the chicken rest for a few minutes before serving.
For the Mashed Potatoes:
1. Peel and cut the potatoes into chunks. Place them in a large pot and cover with water.
2. Bring to a boil over medium-high heat and cook until the potatoes are tender (about 15-20
minutes).
3. Drain the potatoes and return them to the pot.
4. Add butter, milk, salt, and pepper. Mash the potatoes until smooth and creamy, adjusting the
milk as needed to reach your desired consistency.
For the Buttered Vegetable
1. Steam or boil the mixed vegetables until tender, about 5-7 minutes.
2. In a separate pan, melt the butter over medium heat.
3. Add the cooked vegetables to the pan and toss them in the butter. Season with salt and pepper to
taste.
Serve:
Plate the grilled chicken alongside a generous scoop of mashed potatoes and a serving of buttered
vegetables.

Categories Recipes

PANNA COTTA WITH BERRY SAUCE


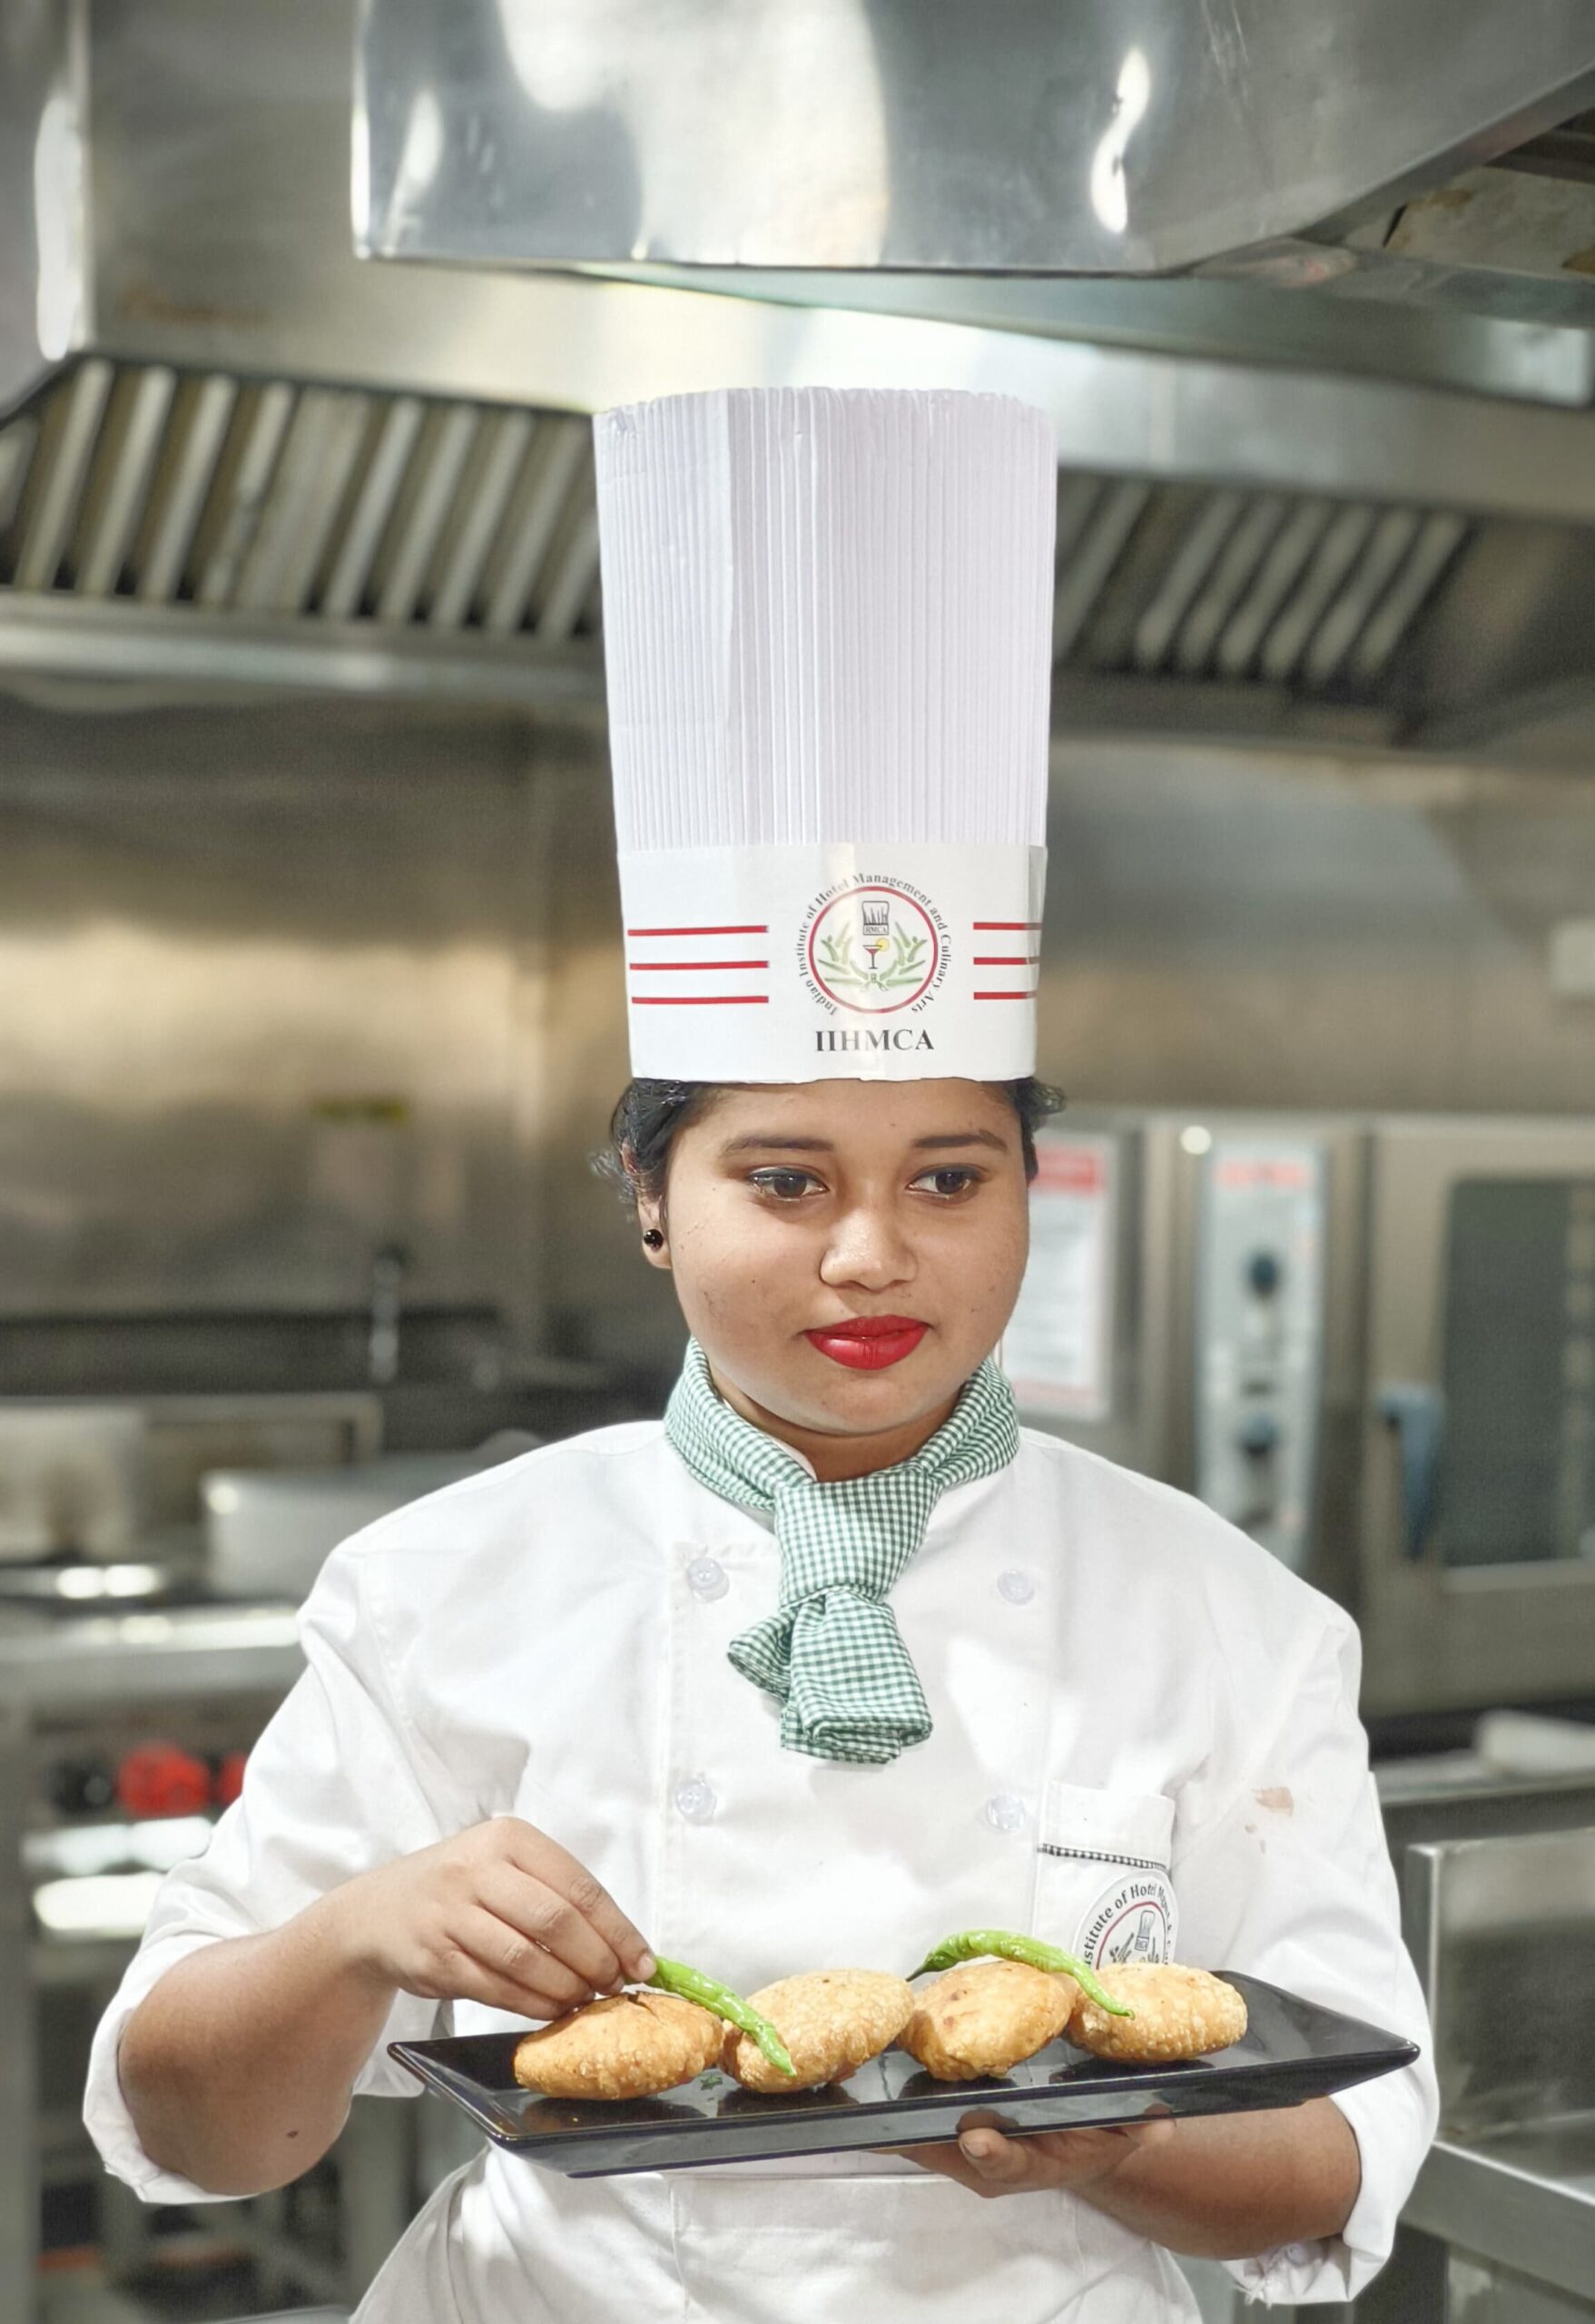
Student selected for the Chef of the day is Ms. Heeranikhath    ( FPP ) of Indian Institute Hotel Management and Culinary Arts for showcasing exemplary skills. She is very talented student, always striving to learn the art of cooking.

INGREDIENTS:

  • 05 ml Cooking spray
  • 350 ml  Whole milk
  • 45 gms  Powdered gelatine
  • 75 gms  Sugar
  • 350 gms Heavy cream
  • 5 drops Vanilla extract
  • Pinch    Salt
  • For garnish
  • 150 gms Raspberries
  • 50 gms Blue berries

METHOD:

  1. Lightly grease the ramekins:Spray the ramekins with cooking spray and then use a paper towel to wipe out most of the oil, leaving only a light residue.
  2. Bloom the gelatine:Pour the milk into the saucepan and sprinkle the powdered gelatine evenly over top. Let soften for 5 minutes or until the surface of the milk is wrinkled and the gelatine grains look wet and slightly dissolved.
  3. Dissolve the gelatine & sugar over low heat:Set the saucepan over low heat and warm the milk gently, stirring or whisking frequently. The milk should never boil or simmer. The gelatine will dissolve quickly as the milk warms. Now add sugar and dissolve it for 5 minutes.
  4. Whisk in the cream and flavourings:Remove the saucepan from the heat. Whisk in the cream, vanilla, and a pinch of salt.
  5. Pour into the ramekins and chill:Divide the mixture evenly between the prepared ramekins and put in the refrigerator to chill. If serving straight from the cups, without unmolding, chill for 1 to 2 hours. If you want to unmold the panna cotta, chill for at least 4 hours or overnight.
  6. Prepare to unmold:Fill a large bowl partway with warm to hot water. Wipe a dessert plate with a damp paper towel (a damp plate lets you reposition the panna cotta more easily if it doesn’t fall in the right spot).
  7. Release the panna cotta edge from the cup:Run a thin knife carefully around the sides of a ramekin. Don’t slide the knife all the way into the cup; just release the top edge of the pudding from the edge of the cup. Dip the ramekin in the warm water up to its rim, and hold it there for about 3 seconds.
  8. Unmold on a plate:Invert the ramekin over the plate and shake gently to help the panna cotta fall out, or press gently on one side to help nudge it out. It should fall out on the plate easily. Reposition on the plate if desired.  Serve with berries cooked in sugar syrup.


Categories Recipes

NAPOLEON PASTRY

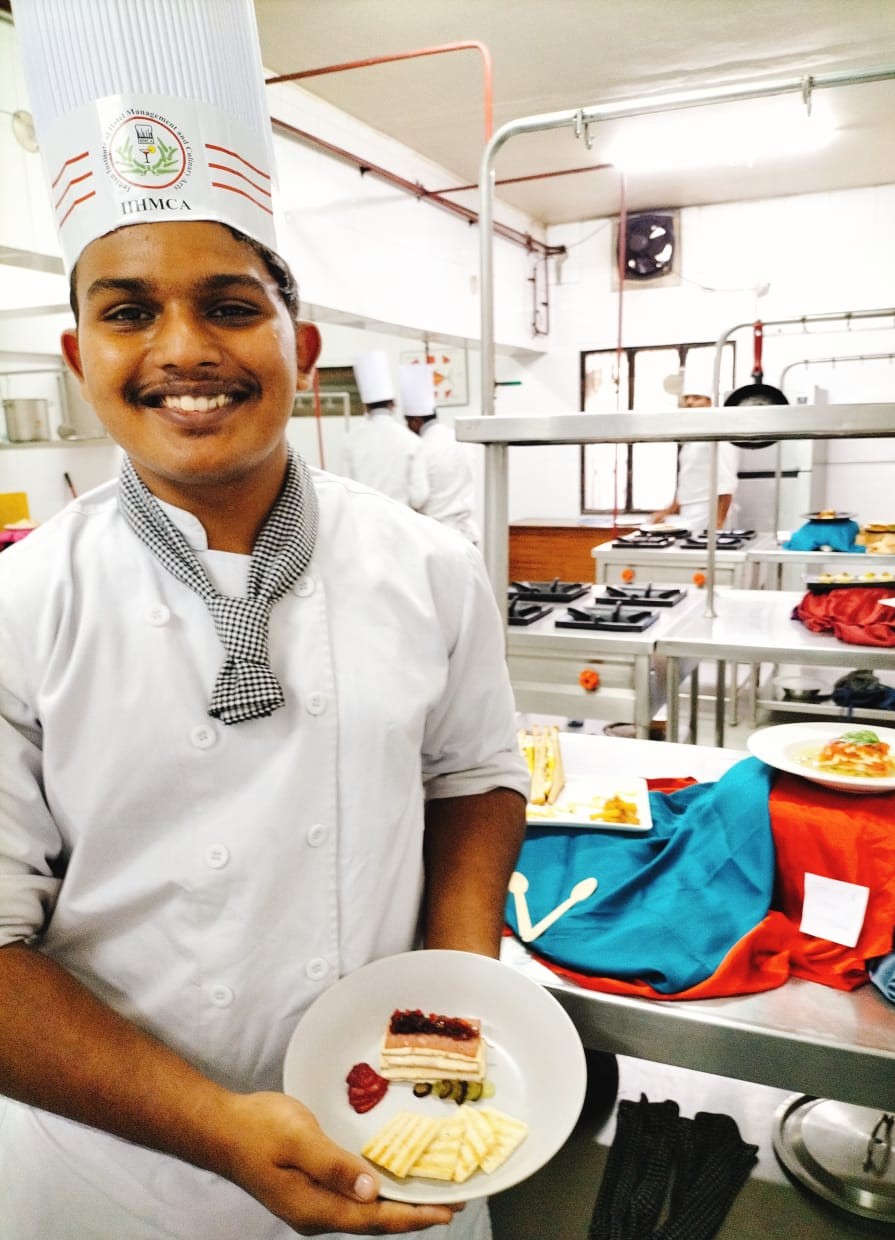
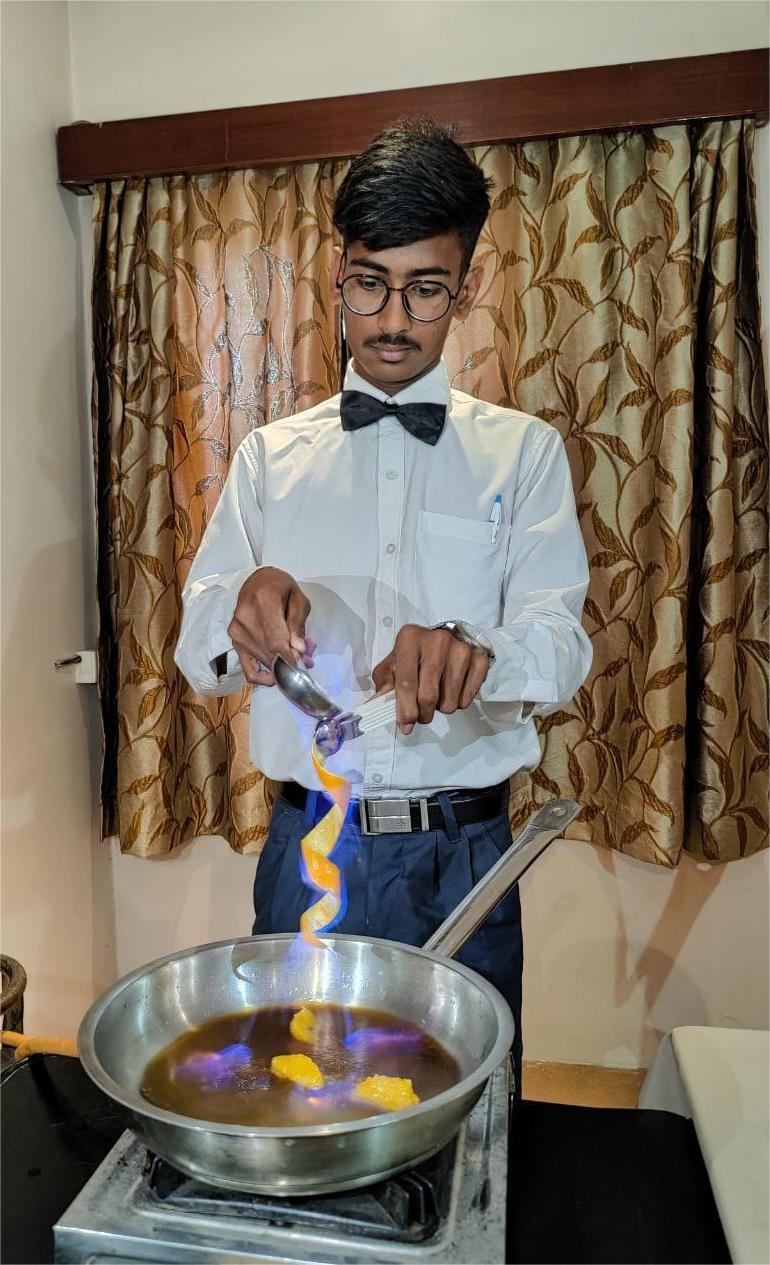
Mr. Vikrant (BCTCA 6th SEM) is a dedicated and diligent, young aspirant who is exceptionally good at culinary arts. IIHMCA has selected him as the Chef of the Day.

Ingredients

500 gms                         Puff Pastry

Filling

  • 510 ml                         Milk, whole preferred, divided
  • 150 ml  plus 75g          Granulated sugar
  • 6 gms                          Table salt
  • 5 ml                             Vanilla extract  or 1/2 vanilla bean, split lengthwise
  • 28 gms                        Corn starch
  • 3 large                         Egg yolks
  • 43 gms                        Butter
  • 15 gms                        Berries compote

Glaze

  • 113 gms                      Confectioners’ sugar, sifted
  • 57 gms                        Heavy cream or milk, at room temperature
  • 5 gms                           light corn syrup  
  • 22 gms                        semisweet chocolate chips or chopped chocolate, melted

Method:

  1. To make the filling:In a medium-sized saucepan, stir together 340g of the milk, sugar, salt, and vanilla bean. Bring to a simmer over medium heat, stirring to dissolve the sugar.
  2. Meanwhile, in a medium bowl whisk the corn starch and egg yolks with the remaining 170g milk until smooth and lump-free.
  3. Slowly whisk about one-third of the hot milk mixture into the egg mixture, then pour the egg/milk mixture back into the remaining simmering milk. Bring to a boil, stirring constantly with a whisk, until the mixture thickens and the boiling bubbles reach the center of the saucepan.
  4. Remove the pan from the heat and strain the filling through a fine strainer into a bowl.
  5. Stir in the butter and vanilla extract. Place a piece of plastic wrap directly on top of the surface, then refrigerate until cool.
  6. To prepare the pastry: On a lightly floured surface, roll the dough into an 11” x 14” rectangle about 1/8” thick.
  7. Transfer the dough to a parchment-lined baking sheet by gently folding it in half, then in quarters. Place the dough on the prepared baking sheet and unfold.
  8. Prick (dock) the dough all over with a fork.
  9. Cover the dough with a sheet of parchment paper, then put it in the refrigerator to chill for at least 30 minutes.
  10. Preheat the oven to 375°F.
  11. Remove the chilled dough from the refrigerator and place another flat-bottomed baking sheet on top of the parchment.
  12. Bake the dough sandwiched between the two pans for 25 minutes. Baking the pastry under the weight of another pan will limit the vertical expansion of the layers and create an incredibly crispy pastry sheet that can carry the weight of the rich pastry cream on top.
  13. Remove the top baking sheet and the parchment underneath it, and return the uncovered pastry to the oven to continue baking for another 15 minutes, until it’s a deep golden brown and baked all the way through.
  14. Remove the pastry from the oven and carefully transfer it to a rack to cool.
  15. To assemble:Using a serrated knife, carefully trim the edges of the baked pastry sheet to make a 10” x 12” rectangle.
  16. Cut the rectangle into thirds, to make three 10” x 4” strips. Select the best-looking strip of pastry and set it aside (this will become the top layer).
  17. To make the glaze: Place the confectioners’ sugar in a bowl and stir in the cream and corn syrup.
  18. Working with the melted chocolate while it’s still warm (around 100°F to 110°F), transfer it to a pastry bag. (A small zip-top bag can also work here.) For tips, see our blog post on how to melt chocolate.
  19. Snip off the tip of the pastry bag or one of the corners of the zip-top bag to create a small opening about 1/16″ wide. Alternatively, make a cornet out of parchment.
  20. Working quickly, pours the white glaze over the “good-looking” reserved pastry strip, covering it completely and smoothing with an offset spatula.
  21. Before the white glaze sets, pipe the chocolate glaze lengthwise onto the white-glazed strip, making parallel lines about an inch apart. With a toothpick or the tip of a paring knife, draw alternating lines perpendicularly through the chocolate stripes to pull them into a pattern.
  22. Carefully place the iced pastry on a rack to dry.
  23. Spread or pipe the chilled pastry cream evenly over the two remaining strips of pastry; it should be about 3/4″ thick. If you’re using berries, push them down into the filling on one of the strips, then top with the other filled strip.
  24. Place the iced strip on the top. Refrigerate the pastry for at least 30 minutes (or up to 12 hours) before serving; this rest will allow it to set up, making it easier to cut.
  25. Slice the pastry crosswise into eight pieces, each about 1 1/4″ wide. Serve chilled, or warmed just slightly at room temperature. 


Categories Recipes

Snake Coffee Flambe

Mr.SURAJ ( BCTCA 2ND sem ) is a budding Bartender who is keen to make his career in Bar outlet. He has been nominated by Indian Institute of Hotel Management and culinary arts as the Bartender of the day.

Ingredients:

  1. 1 shot of strong brewed coffee
  2. 1 tablespoon of sugar
  3. 1/2 ounce of liqueur (such as Kahlúa, Baileys, or Grand Marnier)
  4. 1/2 ounce of high-proof rum or vodka (at least 80 proof)
  5. 1 tablespoon of sweetened condensed milk
  6. 1 Orange fruit ( Peeled)
  7. Ice
  8. Whipped cream (optional)

Method

  1. Brew a shot of strong coffee and pour it into a heat-proof glass or cup.
  2. Add the sugar and stir to dissolve.
  3. Add the liqueur and stir to combine.
  4. Pour the high-proof rum or vodka into a separate ladle or spoon.
  5. Ignite the rum or vodka with a match or lighter, then carefully pour the flaming liquid into through orange peel coffee mixture.
  6. The mixture will ignite and flame for a few seconds. Let it burn for about 30 seconds to caramelize the sugar and intensify the flavors.
  7. Pour the snake coffee flambe over ice in a tall glass.
  8. Add the sweetened condensed milk and stir gently.
  9. Top with whipped cream, if desired.
  10. Serve immediately and enjoy!


Categories Recipes

Bhendakaya Vepudu with Tamarind rice

Mr. Dhirein  (BCTCA 2ND SEM) is a dedicated and diligent, young aspirant who is exceptionally good at culinary arts. IIHMCA has selected him as the Chef of the Day.

Ingredients

To Temper

  • 60 ml                Oil 
  • 5 gms               Mustard seeds
  • 5 gms              Cumin seeds
  • 5 gms               Urad dal split
  • 2 no                 Red chilli
  • 3 no                 Green chilli finely chopped
  • 2 sprigs           Curry leaves

Other Ingredients

  • 500 gm            Lady’s finger
  • 100 ml                         Oil
  • 75 gm              Peanuts
  • 4 cloves           Garlic finely chopped
  • 1 inch              Ginger finely chopped
  • 100 gms          Onion (Small) finely chopped
  • 5 gms              Turmeric powder
  • 8 gms              Red chilli powder
  • 12 gms            Coriander powder
  • 8 gms              Besan flour

Method

  1. Cut the Okra into small pieces and keep aside.
  2. Heat oil in a pan over medium flame. Add mustard seeds & cumin seeds and wait for them to crackle. And then add urad dal, stirring until it turns golden brown.
  3. Now add curry leaves, few red chillies, green chillies, and chopped ginger and garlic. Sauté these ingredients until raw aroma of ginger and garlic leave.
  4. Add finely chopped onions to the mix, sautéing until they become translucent.
  5. Now, add the okra slices. A teaspoon of oil can be added at this stage to ensure the okra is well-coated. Stir gently to combine.
  6. Allow the okra to cook thoroughly, stirring occasionally. There’s no need to add water. Keep the pan uncovered to avoid making the okra soggy. The secret to crispy okra lies in letting it fry in its own moisture and the oil.
  7. Add the salt, turmeric powder, red chilli powder, coriander powder and cook further.
  8. While the okra cooks, take some peanuts and crush them into a coarse powder.
  9. Once the okra is nearly done, sprinkle this peanut powder and besan flour over it, mixing well.
  10. The peanuts not only get roasted in the process but also infuse the dish with a rich, nutty flavour. Take it off heat and sprinkle chopped coriander leaves and serve hot.


Categories Recipes

COCONUT BURFI

Student selected for the Chef of the day is Mr. Abhinav Raja (BCTCA 2ND SEM) of Indian Institute Hotel Management and Culinary Arts for showcasing exemplary skills. He is very talented student, always striving to learn the art of cooking.

Ingredients
1. 250 gms Desiccated coconut
2. 200 ml Whole milk
3. 75 gms  Sweetened condensed milk
4. 10 gms  Cardamom powder
5. 5 ml   Rose water – optional
6. 15 gms Sugar 
7. 12 gms Ghee 
8. ½ gms Saffron
9. 25 gms Cashews 
Method:
1. Warm the milk on stovetop.
2. In a bowl, take the desiccated coconut and mix warm milk with it.
3. Stir well. Cover and keep aside for 1 hour. If using fresh coconut, then no need to soak in warm
milk.
Making coconut burfi
1. Grease a baking tray or steel plate with ghee or neutral flavored oil.
2. Heat ghee in a pan. Add the milk soaked coconut. Stir to mix and sauté on a low heat for 2 to 3
minutes.
3. Now add the condensed milk and stir to mix the ingredient thoroughly. Cook on a low heat stirring
often.
4. Add sugar and cardamom powder.
5. Continue to cook and stir. The coconut burfi mixture will thicken slowly.
6. Takes about 20 to 25 mins on a low heat.
7. Add rose water if using. Stir again.
Setting coconut burfi
1. Then pour the burfi mixture in the greased tray or thali.
2. Sprinkle saffron powder or press some halved or chopped cashews on the top.
3. Let it cool completely at room temperature.
4. Slice the burfi and then serve.
5. Coconut Burfi can also be refrigerated. It keeps well for 1 to 2 days in the refrigerator.

Categories Recipes

KASHTA MOONG DAL KACHORI

Ms. ANJANA (BCTCA 2ND SEM) is a dedicated and diligent, young aspirant who is exceptionally good at culinary arts. IIHMCA has selected her as the Chef of the Day.

Ingredients:

  • 400 gms Refined flour
  • 200 gms Vanaspati ghee
  • 125 mls Cold water (to mix)
  • 1 lit Oil for frying

For the filling:

  • 125 gms Moong dal (husked), soaked
  • 50gms Oil
  • 5gms Cumin seeds
  • 3 gms Kasuri Methi
  • 3 gms Asafetida (hing)
  • 3 gms Garam masala powder
  • 5 gms Chilli powder
  • 4 gms Ginger powder
  • 20 gms Fennel seeds, powdered
  • 12 gms Coriander powder
  • 12 gms Mango powder
  • to taste Salt

METHOD:

How To Make Kachori Dough

  1. Mix the flour, salt and oil in a mixing bowl. Combine the mixture using your fingers to crumb it well.
  2. Add the chilled water one tablespoon at a time, and start binding the dough. Add water in small portions.
  3. Once the dough comes together, knead it for 5 minutes. The dough should be soft yet firm to touch. Cover the dough with a wet muslin cloth and let it sit for at least fifteen minutes.

How To Make Kachori Filling

  1. Meanwhile, prepare the filling for kachori. Add namkeen to a food processor or mixer. Add all the remaining ingredients (spices, salt, and 1 teaspoon of vegetable oil) to the mixer. Blend to a coarse powder.
  2. Transfer to a bowl. We require a crunchy mixture and not a fine powder for the filling.

How To Shape Kachori

  1. To shape the kachoris, divide the dough into ten lemon-sized balls. Take one part of the dough and with your fingers flatten the edges and make into 3-inch circle just like a small poori. Leaving center little thicker then edges.
  2. Place 1 ½ teaspoon of filling in the center. Pull the edges of the dough all the edges and join them all together at one place like a dim sum. Flatten the kachori gently with the pressure of your palm. Each kachori is 2 – 2 ½ inches wide.

How To Fry Kachori

  1. Heat the oil in a deep frying pan over medium heat. To check if oil is ready put a little piece of dough in the oil. The dough should sizzle, and come on the surface immediately rather than sitting at the bottom of the pan.
  2. Fry Kachori in small batches on medium-low heat. After they start to puff, slowly turn them over. Fry until golden-brown on both sides. Flip them regularly to get even cooking and color.
  3. Serve Khasta Kachori with sweet chutney.
Categories Recipes

Crêpes Les Fruit Frais

Mr.BRIGHTSON (FPP) is a dedicated and diligent, young aspirant who is exceptionally good at culinary arts. IIHMCA has selected him as the Chef of the Day.

Ingredients:

Crêpes

  • 2 large Eggs
  • 175 gms Refined flour
  • 150 ml Milk
  • 2 gms Salt
  • 8 gms Sugar
  • 75 ml Cold water
  • 5 ml Oil
  • 20 gms Unsalted butter, melted, half for skillet.

For Fruit Fillings

  • 60 gms Unsalted butter, softened, plus more for buttering
  • 60 gms + 10 gms Sugar,  and for sprinkling
  • 25 gms Strawberries, chopped
  • 40 gms Apples, cut into small cubes
  • 15 gms Black grapes, seedless
  • 15 gms Green grapes, seedless
  • 2 nos Kiwi
  • 4 nos Ripe Bananas
  • 80 gms Fresh orange juice
  • 55 gms Sugar
  • 150 ml Whipped cream

Garnish

  • 4 nos Glazed Cherries
  • 25 gms Chopped mixed fruits

Method:

  1. In a medium bowl, whisk together the eggs, flour, milk, salt and sugar until smooth; the batter will be thick. Whisk in the water, oil and melted butter.
  2. Heat a 6-inch crêpe pan or nonstick skillet and rub with a little butter. Add 30 ml of the batter and tilt the skillet to distribute the batter evenly, pouring any excess batter back into the bowl. Cook over moderately high heat until the edges of the crêpe curl up and start to brown, around 45 seconds. Flip the crêpe and cook for 10 seconds longer, until a few brown spots appear on the bottom. Tap the crêpe out onto a baking sheet . Repeat with the remaining batter to make 12 crêpes, buttering the skillet a few times as necessary.
  3. Chop the fruits and keep it aside. Heat the pan and add butter and sauté cut fruits with a little sugar, till they get a little juicy and let the sauce thicken just a little bit.
  4. Stir together the cream cheese, sugar and vanilla extract, then in another bowl, whip the cream until it’s nice and fluffy. Fold them together to make a nice fluffy mixture.
  5. Then take one crepe, spread the middle down with the cream cheese filling. Then add some berries over the top of the cream cheese mixture. Roll the crepes up, and top with glazed cherries, chopped mixed fruits and powdered sugar and serve.
Categories Recipes

KAJJIKAYALU

Student who is selected for the Chef of the day is Ms.CHARMI NAIDU(BCTCA 2ND SEM) of Indian Institute Hotel Management and Culinary Arts for showcasing exemplary skills. She is very talented student, always striving to perfect the art of cooking.

Ingredients:

  • 500 gms Maida (Refined flour)
  • 50 ml   Ghee
  • enough water to knead the maida
  • 8 gms Salt to taste
  • 2 lit Oil for deep frying

For the filling:

  • 150 gms Dry coconut finely grated
  • 200 gms Sooji/semolina
  • 20 ml Ghee
  • 25 gms Khus-khus/poppy seeds
  • 250 gms Sugar
  • 5 gms Cardamom powder
  • 45 gms Cashew nuts Finely chopped

Method:

  1. Mix the maida with salt, ghee and enough water to make pliable dough, not too soft.
  2. Divide the dough into 16 pieces and shape into small balls. Keep aside covered for half an hour.
  3. Heat a flat pan, add half the ghee and add the grated coconut and roast over medium flame for a few minutes, approx 3-4 mins.
  4. Remove and keep aside. If using fresh coconut, roast the coconut till golden brown. Ensure that its well roasted, it takes longer time to roast than dry coconut.
  5. In the same pan, add ghee and add the sooji and poppy seeds and roast over medium flame till it turns light pink, approx 7-8 mins. Remove, cool and keep aside.
  6. Powder the sugar and mix with the roasted sooji and poppy seeds, grated coconut, cardamom powder and cashew nuts. The filling is ready. Keep aside.
  7. Now, roll each ball with the rolling pin into a thin round disc of 4 inches.
  8. Spread a tablespoon of the filling on one half of the rolled out dough. Wet your finger and run it along the edges of the spread out dough with water and fold over to the opposite end, enclosing the stuffing to form a semi-circle shaped kajjikaya.
  9. Press the ends firmly so that the filling doesn’t come out during the deep frying process and twist the edges around the kajjikaya as shown in the picture.
  10. Heat enough oil in a wide vessel to deep fry the stuffed kajjikayalu. Drop 3-4 kajjikayalu into the oil slowly and deep fry them till golden brown, turning them carefully to the other side so that it cooks on all sides. Deep fry on medium heat and not piping hot oil.
  11. Cool and store in air tight containers.